Blog

How to Restore the Shine to Dull and Etched Marble Floors

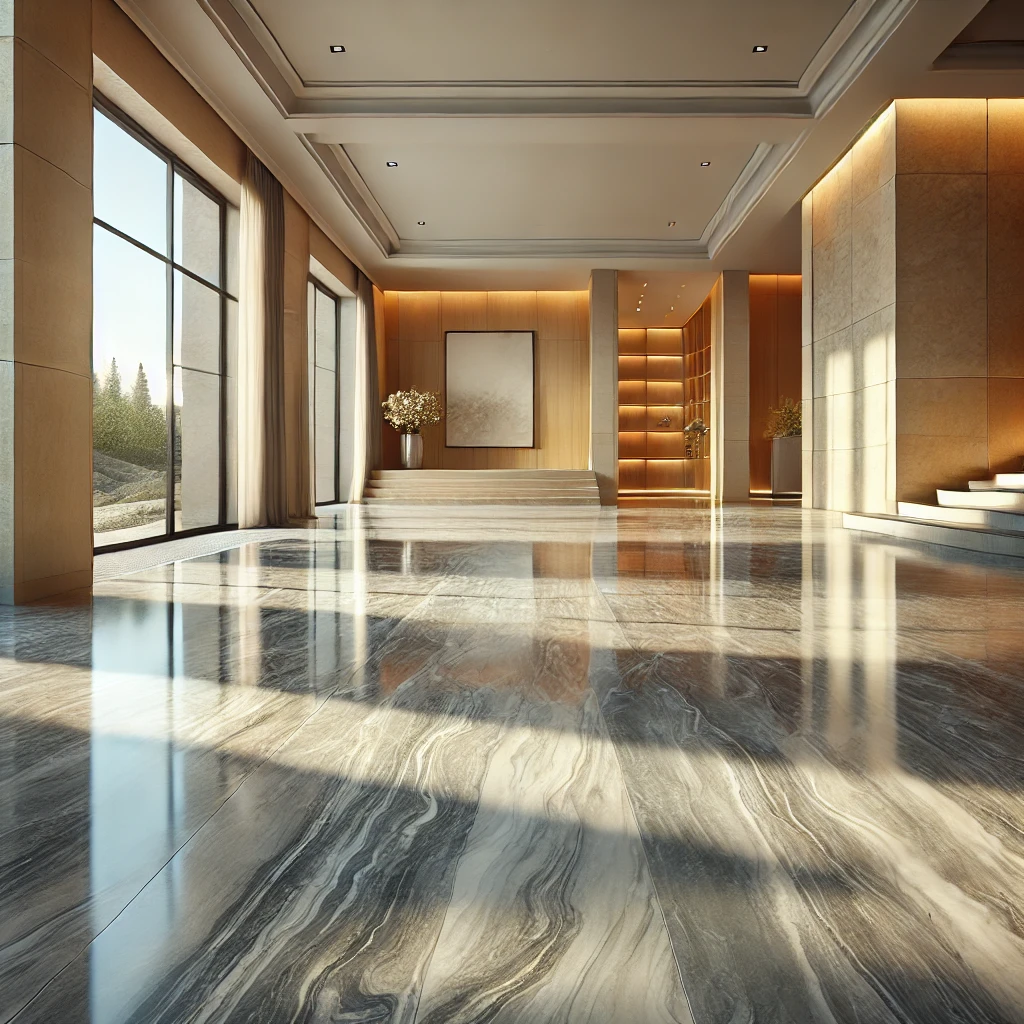
Over time, marble floors can lose their luster due to wear, acidic spills, and daily foot traffic. Unlike ordinary flooring materials, marble requires specific techniques to restore its natural shine and smoothness. This guide walks you through the most effective restoration methods—particularly honing and polishing—that can breathe new life into your marble floors.


Understanding Why Marble Loses Its Shine

Marble is a soft, calcium-based stone, making it highly susceptible to dullness and etching. Dullness usually results from surface wear and fine scratches caused by dirt and abrasion. Etching occurs when acidic substances like wine, vinegar, or citrus juices react with the marble, leaving cloudy or whitish spots. These issues can’t be fixed with simple cleaning—they require deeper restoration.


Step 1: Honing – Removing Surface Damage

Honing is the first major step in restoring etched and worn marble. This process involves using abrasive pads or diamond grits to gently grind down the damaged top layer of the marble.

  • What it does: Removes minor scratches, etch marks, and uneven spots
  • Tools used: Diamond abrasives or honing powders
  • Finish: Smooth, matte surface ready for polishing

Professional honing usually starts with a coarse grit and progresses to finer grits, depending on the level of damage. This step flattens the stone and evens out the surface, setting the stage for a brilliant polish.


Step 2: Polishing – Restoring the Shine

After honing, polishing is used to enhance the marble’s natural gloss.

  • What it does: Buffs and smooths the surface to bring out shine
  • Tools used: Polishing powders, pads, and floor buffers
  • Finish: High-gloss or satin sheen, based on preference

Polishing not only improves the visual appeal but also helps close the stone’s pores slightly, making it a bit more resistant to stains and moisture. This step is essential for achieving that sleek, mirror-like look.


Step 3: Sealing – Preserving the Finish

Once your floors are restored, sealing is crucial for protection.

  • What it does: Prevents staining and slows down etching
  • Application: A penetrating sealer is applied and left to cure
  • Lifespan: Typically 6–12 months, depending on foot traffic

Though not a cure-all, sealers give you more time to clean up spills before they damage the stone. Resealing periodically is key to maintaining that freshly-restored look.


Maintenance Tips to Keep Marble Floors Looking New

Restoration is just the beginning. Keep your marble floors shining with these upkeep tips:

  • Use pH-neutral stone cleaners – Avoid vinegar, bleach, or acidic solutions
  • Clean regularly with microfiber mops – This minimizes scratching from dirt
  • Wipe up spills immediately – Especially acidic or oily substances
  • Use mats and rugs in high-traffic areas – To reduce wear and tear

Proper care will help delay the need for future restoration and keep your marble looking pristine for years.


Final Thoughts

Restoring dull and etched marble floors involves more than a quick clean—it requires careful honing, thorough polishing, and long-term sealing. While DIY kits exist, professional services often provide the most reliable and lasting results. With the right techniques and ongoing care, your marble floors can regain their radiant beauty and continue to shine as the stunning centerpiece of your home.
Sealing Your Marble Floors: Why It’s a Must for Long-Lasting Beauty

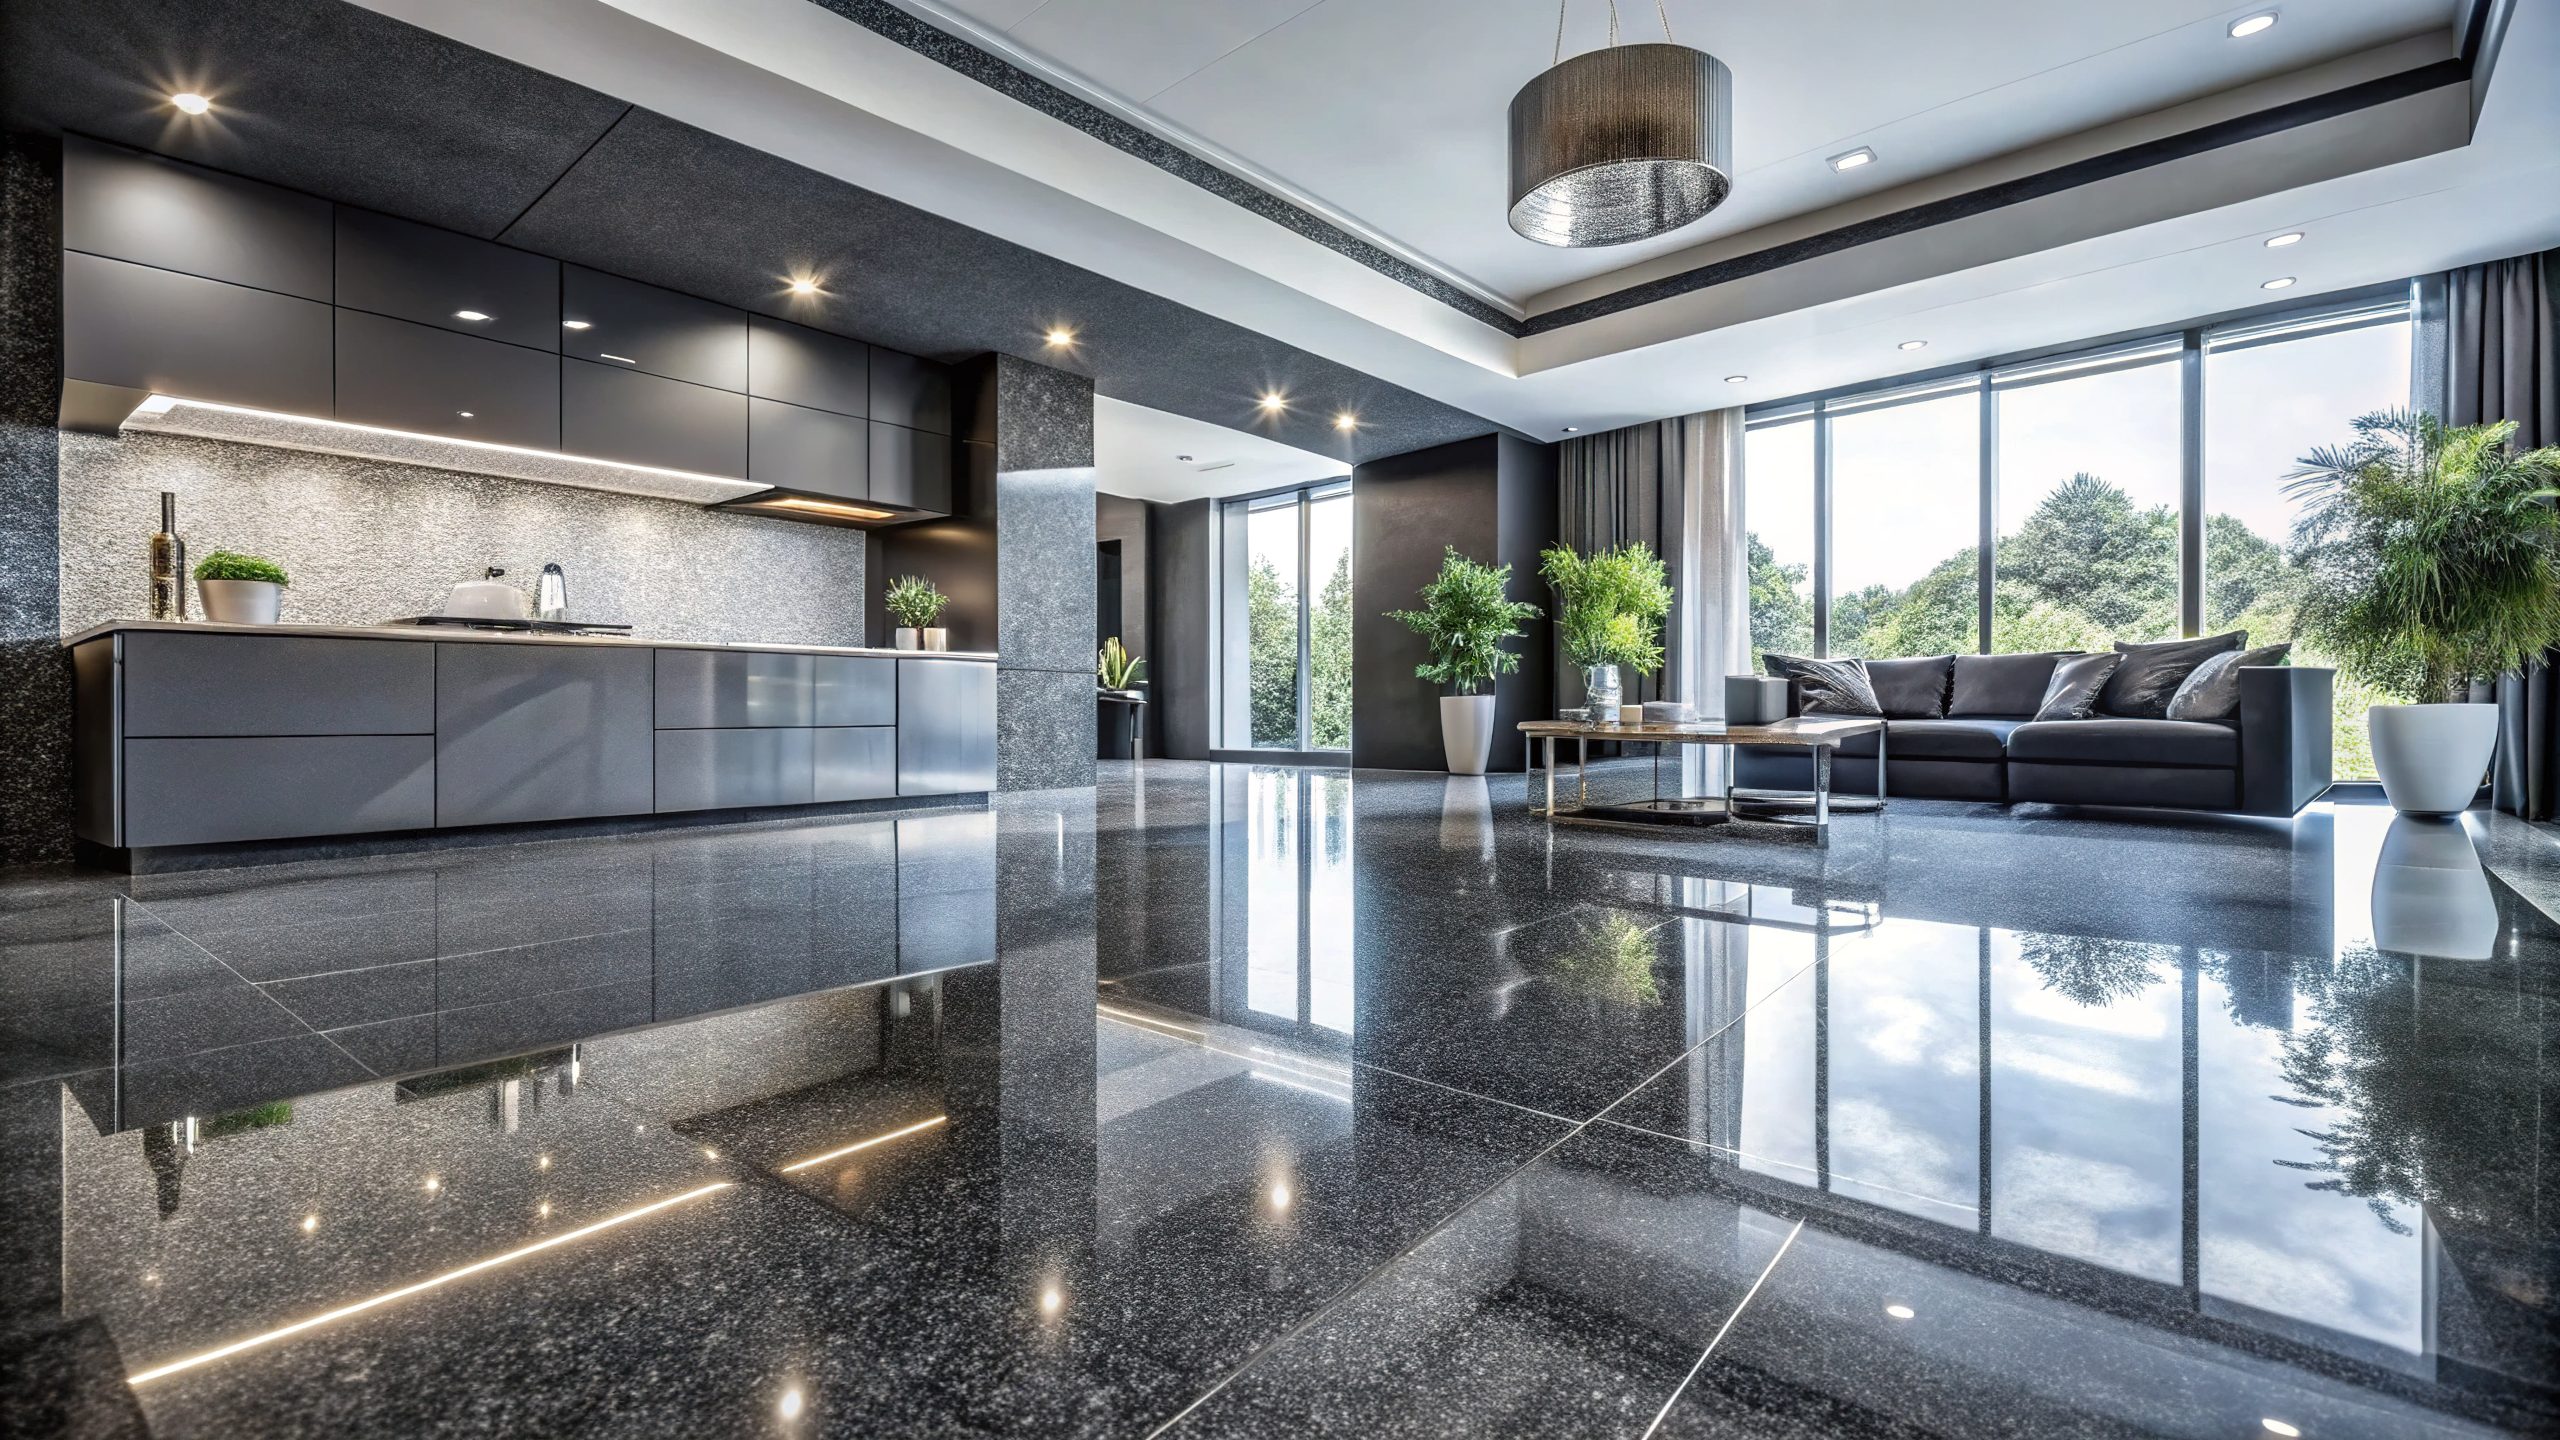
Marble floors are a luxurious and elegant addition to any space, offering timeless beauty and durability. However, to maintain their stunning appearance, proper care and maintenance are essential—particularly when it comes to sealing. Sealing your marble floors is a crucial step in preserving their longevity, preventing stains, and enhancing their natural shine. In this guide, we’ll explore why sealing is a must, how often it should be done, and the best sealers for marble flooring.


Why Sealing Your Marble Floors Is Essential

Marble is a porous natural stone, meaning it can absorb liquids and stains if left unprotected. Unsealed marble is highly susceptible to etching, discoloration, and water damage, which can significantly reduce its lifespan. Sealing your marble floors offers the following benefits:

1. Stain Protection

Spills from coffee, wine, juice, or even water can penetrate marble if it’s not sealed, leading to stubborn stains. A quality sealer forms a protective barrier, preventing liquids from seeping into the stone.

2. Defense Against Etching

Marble reacts with acidic substances, causing dull spots or “etch marks.” While a sealer won’t completely prevent etching, it can slow down the damage and make the surface more resistant.

3. Moisture Resistance

In high-humidity environments, moisture can seep into unsealed marble, leading to mold growth and weakening the stone’s integrity. Sealing helps repel moisture and maintain the floor’s structural stability.

4. Prolonged Durability

Marble is a long-lasting material, but without proper protection, it can degrade over time. Sealing helps preserve its strength and beauty, reducing the frequency of deep cleaning and restoration.

5. Easier Cleaning & Maintenance

Sealed marble floors are much easier to clean. Dirt and grime remain on the surface instead of sinking into the pores, allowing for quick and effective cleaning with minimal effort.


How Often Should You Seal Marble Floors?

The frequency of sealing depends on several factors, including foot traffic, exposure to moisture, and the type of sealer used. Here’s a general guideline:

  • Low-traffic areas (bedrooms, formal dining rooms): Every 12–24 months
  • Moderate-traffic areas (living rooms, hallways): Every 6–12 months
  • High-traffic areas (kitchens, bathrooms, entryways): Every 3–6 months

To determine if your marble floor needs resealing, perform a simple water drop test:

  1. Place a few drops of water on the marble surface.
  2. Wait for 5–10 minutes.
  3. If the water absorbs into the marble and darkens the surface, it’s time to reseal.

Best Sealers for Marble Floors

Choosing the right sealer is crucial to ensuring maximum protection and longevity. Here are some of the best types of marble sealers:

Penetrating Sealers (Impregnating Sealers)

  • Designed to absorb into the marble and create a protective barrier from within.
  • Ideal for kitchens, bathrooms, and outdoor areas.
  • Provides long-lasting protection without altering the stone’s natural appearance.
  • Recommended Product: StoneTech BulletProof Sealer

Enhancing Sealers

  • Provides the same protection as a penetrating sealer but also enhances the stone’s natural color.
  • Great for those who want to deepen the marble’s hue and richness.
  • Recommended Product: Aqua Mix Enrich ‘N’ Seal

Topical Sealers

  • Forms a protective layer on the marble’s surface.
  • Offers additional shine but may require frequent reapplication.
  • Best for decorative marble floors that receive low foot traffic.
  • Recommended Product: Miracle Sealants 511 Seal & Enhance

How to Seal Your Marble Floors: Step-by-Step Guide

Sealing your marble floors properly ensures long-lasting protection. Follow these steps for the best results:

Step 1: Clean the Surface

  • Sweep or vacuum to remove dirt and dust.
  • Use a pH-neutral stone cleaner to wipe down the floor.
  • Allow the floor to dry completely before applying the sealer.

Step 2: Apply the Sealer

  • Using a clean microfiber cloth or applicator pad, apply the sealer evenly in small sections.
  • Avoid oversaturating the marble—thin, even layers work best.

Step 3: Let It Absorb

  • Allow the sealer to penetrate the marble (typically 5–15 minutes, depending on the product).
  • If necessary, apply a second coat for extra protection.

Step 4: Wipe Off Excess

  • Use a clean, dry cloth to wipe away any remaining sealer before it dries on the surface.

Step 5: Let It Cure

  • Allow the sealer to cure for at least 24 hours before walking on the floor.
  • Avoid washing or exposing the marble to moisture during this time.

Sealing your marble floors is one of the most effective ways to protect their beauty and durability. Whether your floors are in a high-traffic area or a more decorative space, regular sealing ensures they remain resistant to stains, etching, and moisture damage. By choosing the right sealer and following proper maintenance steps, you can keep your marble floors looking pristine for years to come.

For optimal results, consider enlisting a professional stone care service to handle sealing and maintenance, particularly for expansive or high-traffic areas. Proper upkeep now can save you both time and money in the long run while ensuring your marble floors retain their timeless elegance.

Preparing Your Natural Stone Floors for Special Events

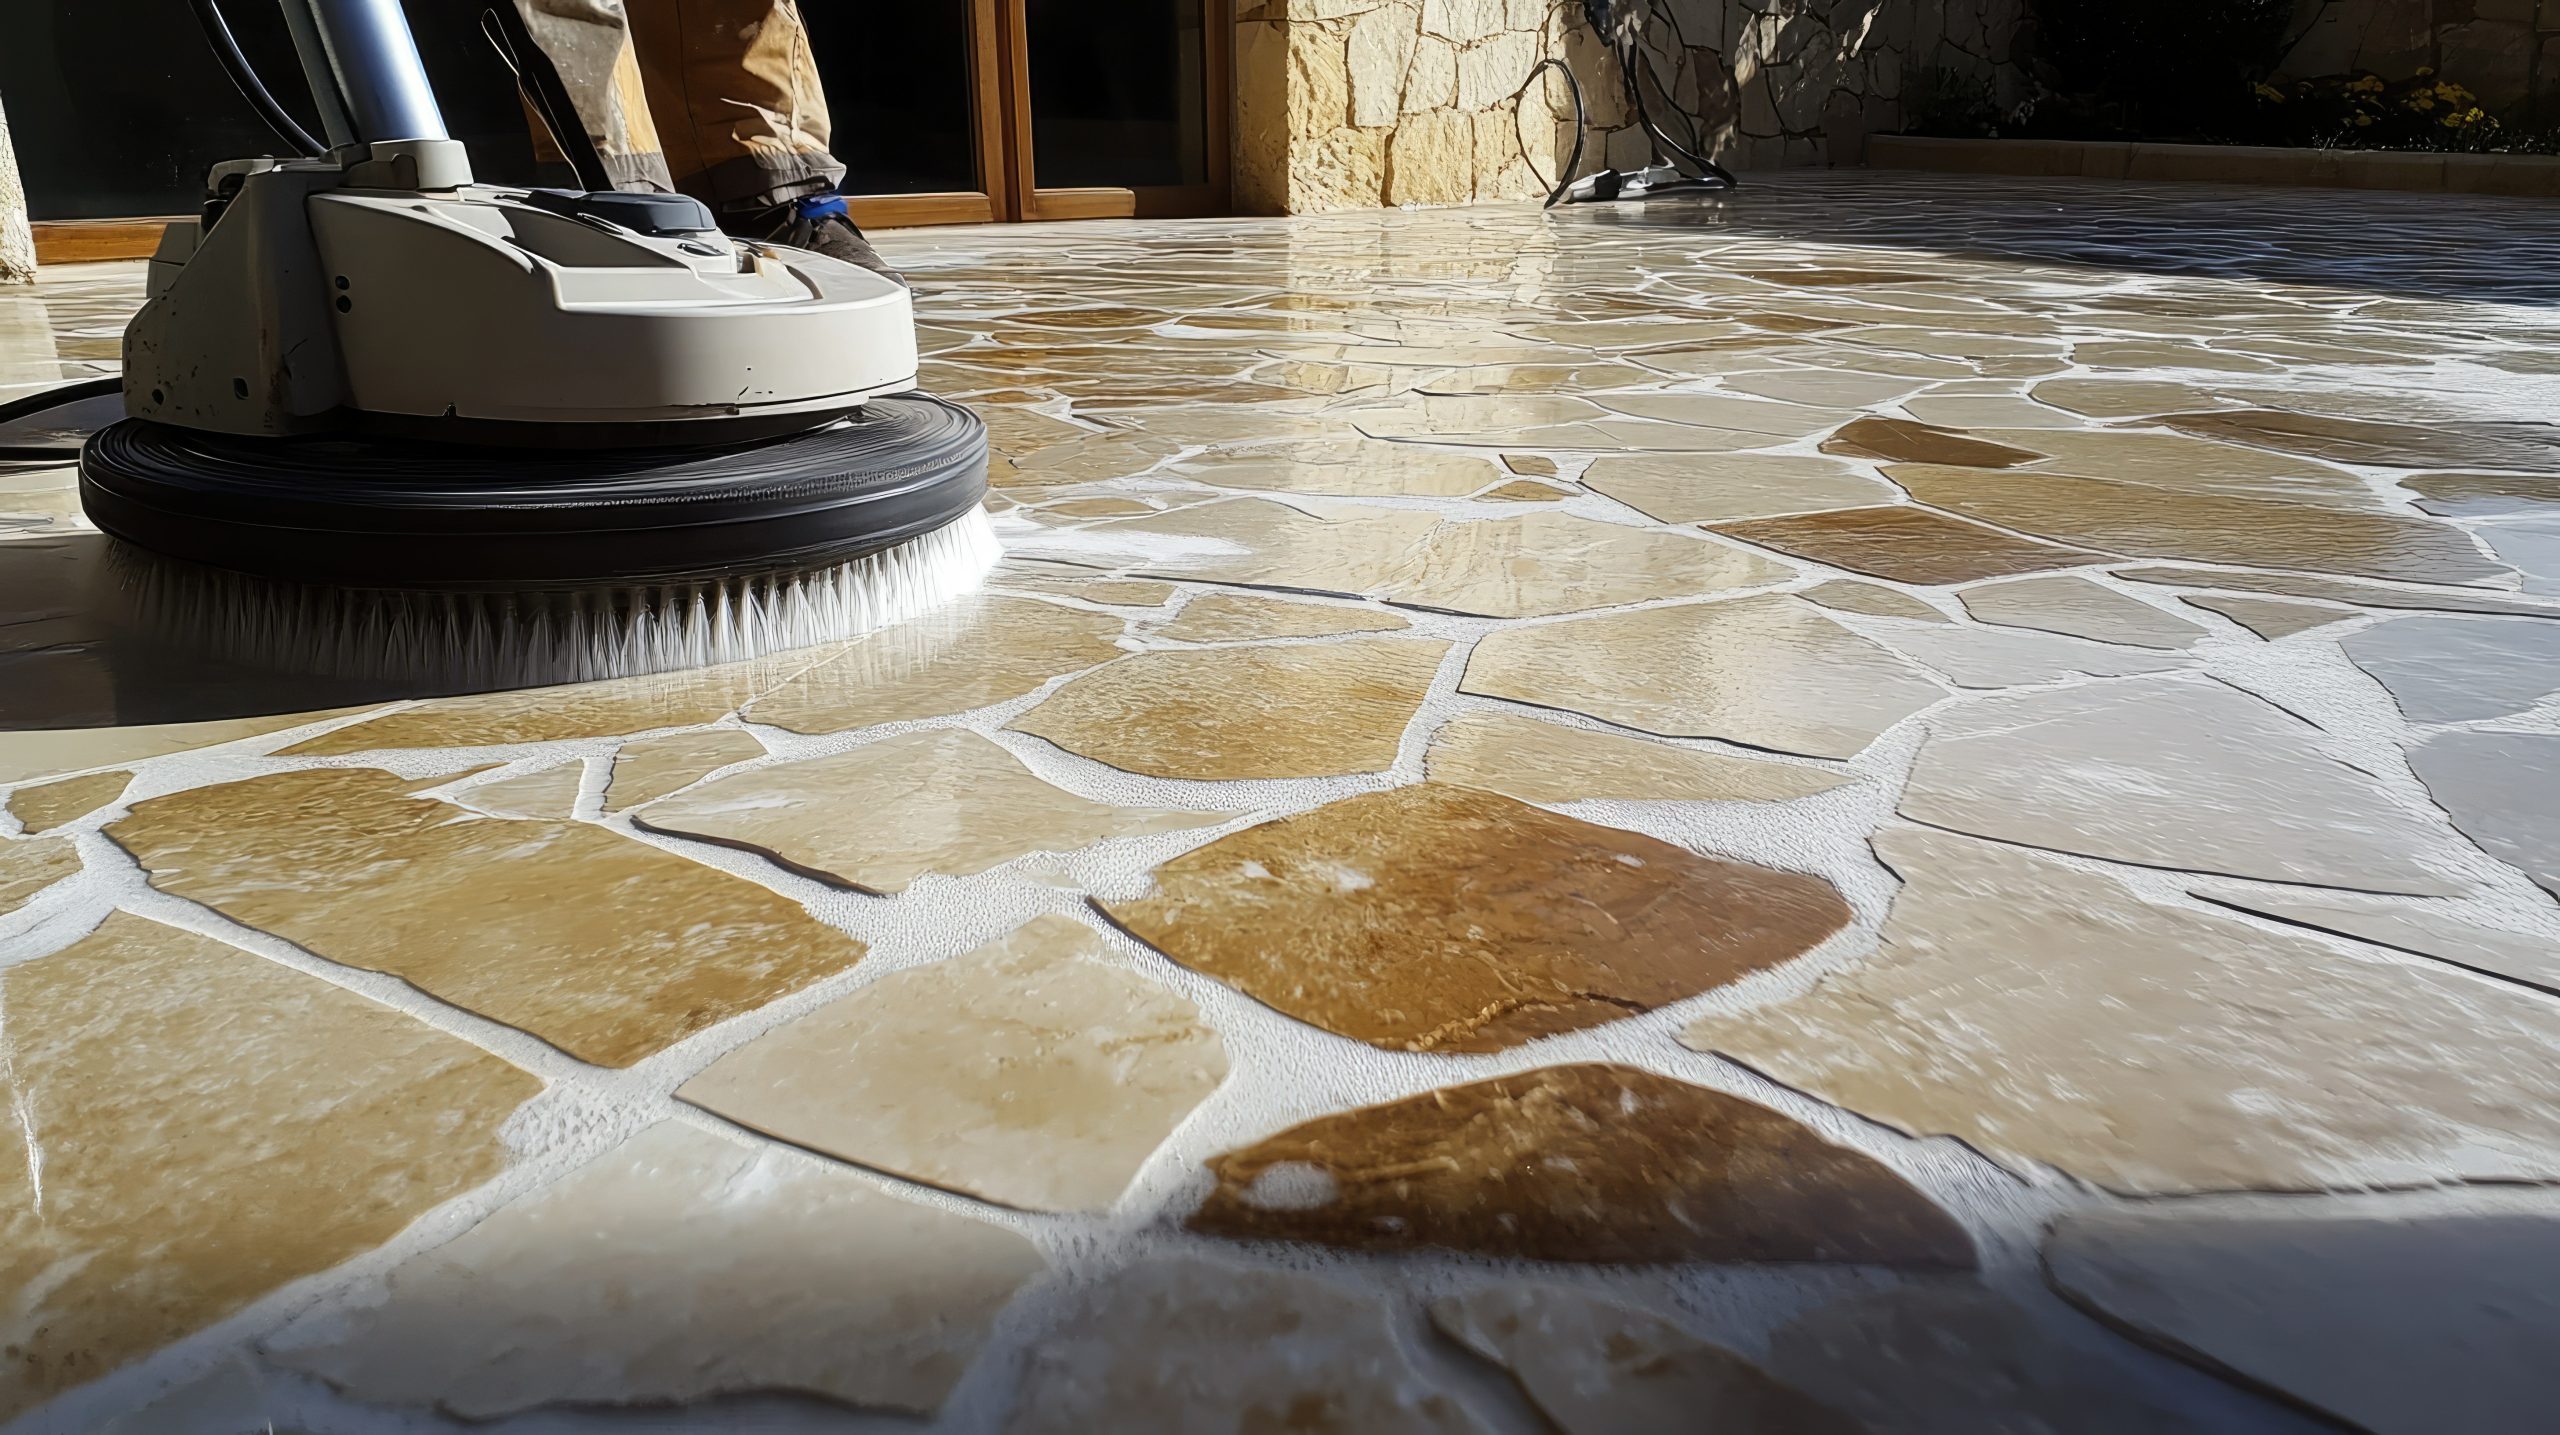
Natural stone floors are a timeless and elegant feature that can enhance the beauty of any home or venue. When hosting a special event, ensuring that your floors are in pristine condition is essential to impress your guests and maintain their longevity. This step-by-step guide will help you deep clean, polish, and seal your natural stone floors so they look flawless for your upcoming occasion.

Step 1: Clear the Area

Before beginning the cleaning and preparation process, remove all furniture, rugs, and decorative items from the space. This will provide unobstructed access to the entire floor and prevent any damage to furnishings during the cleaning and sealing process. If moving heavy furniture, use furniture sliders to avoid scratching the surface.

Step 2: Sweep and Dust Thoroughly

Use a soft-bristle broom or a dry dust mop to remove loose dirt, dust, and debris. Natural stone is susceptible to scratches from dirt particles, so ensuring a clean surface before proceeding to deeper cleaning is crucial. Avoid using vacuums with hard plastic wheels or rotating brushes, as these can cause damage to the stone.

Step 3: Perform a Deep Clean

For an effective deep clean, use a pH-neutral stone cleaner specifically designed for natural stone surfaces. Avoid harsh chemicals, vinegar, or acidic cleaners, as these can etch and dull the stone. Follow these steps:

  1. Dilute the stone cleaner according to the manufacturer’s instructions.
  2. Use a microfiber mop or a soft sponge to apply the cleaner in sections.
  3. Allow the cleaner to sit for a few minutes to break down grime.
  4. Rinse thoroughly with clean water to remove any residue.
  5. Dry the floor with a soft, lint-free cloth to prevent water spots.

Step 4: Address Stains and Etching

For stubborn stains or etch marks, identify the type of stain first. Organic stains (such as food or wine) can often be lifted with a poultice made from baking soda and water. Oil-based stains may require a degreasing agent approved for stone surfaces. Apply the poultice, let it sit for 24 hours, and then gently remove it with a damp cloth.

Step 5: Polish for a Brilliant Shine

Polishing enhances the natural beauty of the stone and provides a smooth, reflective surface. Depending on the type of stone, you can use a stone-specific polish or a polishing powder. Here’s how:

  1. Apply a small amount of polish to a soft cloth or polishing pad.
  2. Work the polish into the stone using circular motions.
  3. Buff the surface with a clean, dry cloth to achieve a radiant shine.

Step 6: Seal for Protection

Sealing your natural stone floor is a crucial step in protecting it from stains, moisture, and wear, especially in high-traffic areas. Choose a high-quality sealer appropriate for your stone type (such as granite, marble, or limestone). Follow these steps for sealing:

  1. Ensure the floor is completely clean and dry.
  2. Apply the sealer evenly with a soft cloth or sponge applicator.
  3. Let the sealer sit for the recommended time before buffing away excess.
  4. Allow the sealer to cure fully before walking on the surface.

Step 7: Maintain the Look Until the Event

Once your natural stone floors are cleaned, polished, and sealed, maintain their pristine look leading up to your event by:

  • Using entry mats to prevent dirt from being tracked in.
  • Cleaning up spills immediately to prevent stains.
  • Dry dusting or damp mopping as needed.
  • Avoiding abrasive tools or harsh chemicals.

Final Touches

On the day of the event, do a final dusting and light polish to enhance the floor’s shine. Consider placing rugs in high-traffic areas to minimize wear and provide additional protection.

By following these steps, your natural stone floors will be event-ready, offering a dazzling and sophisticated ambiance for your special occasion. With proper care and maintenance, they will continue to impress guests for years to come.

For the best results and long-lasting protection, consider hiring a professional stone care service, especially if your floors require extensive restoration or sealing.

Seasonal Care for Natural Stone Floors: A Year-Round Maintenance Guide

Natural stone floors require consistent maintenance to preserve their luster and integrity. Seasonal changes bring different challenges, from moisture and grime in winter to dust and heat in summer. A year-round care plan ensures that your natural stone flooring remains in peak condition. Below is a seasonal maintenance guide to help you protect and maintain your investment throughout the year.

Spring: Deep Cleaning and Sealing

Spring is the perfect time for a thorough cleaning and protective sealing to refresh your natural stone floors after winter’s wear and tear.

  • Deep Clean: Sweep and vacuum to remove dirt and debris. Use a pH-neutral stone cleaner with warm water and a microfiber mop to eliminate any residual grime. Avoid acidic or harsh chemicals, which can erode the stone’s finish.
  • Inspect for Damage: Check for cracks, etching, or discoloration caused by winter moisture and salt residue. Address any damage early to prevent worsening.
  • Reapply Sealant: If your stone floors are porous (such as limestone or travertine), spring is an ideal time to reseal them. A quality sealant creates a barrier against moisture and stains, extending the floor’s lifespan.
  • Control Humidity: As temperatures rise, maintaining indoor humidity levels between 30-50% helps prevent stone expansion or contraction, which can lead to cracks.

Summer: Preventing Heat and Moisture Damage

Warm weather and increased foot traffic can introduce dirt, sand, and spills that can wear down your stone flooring.

  • Frequent Sweeping and Mopping: Sand and dirt particles can scratch the surface, so sweep daily and damp-mop weekly to prevent buildup.
  • Use Area Rugs and Mats: Placing rugs in high-traffic areas, such as entryways and kitchens, helps minimize wear and tear.
  • Avoid Direct Sunlight Exposure: Strong UV rays can fade some natural stones. Use blinds, curtains, or UV-filtering window films to protect your floors.
  • Wipe Up Spills Immediately: Stone surfaces can absorb spills, especially from acidic substances like citrus juice and wine. Use a soft cloth and a neutral cleaner to blot spills quickly.

Autumn: Preparing for Cooler Months

As fall brings cooler temperatures and increased debris from leaves and rain, take steps to reinforce your stone floor’s defenses.

  • Pre-Winter Cleaning: Conduct another deep clean to remove any summer grime and prepare the floors for harsher conditions.
  • Check Sealant Durability: If water no longer beads on the surface, reapply a sealant to prevent moisture absorption.
  • Increase Doormat Usage: Leaves, dirt, and moisture from autumn rains can stain and scratch stone. Use high-quality doormats inside and outside entryways to minimize tracking debris indoors.
  • Maintain Grout Lines: Inspect and clean grout lines to remove dirt and prevent mold growth, which thrives in damp conditions.

Winter: Protecting Against Moisture and Debris

Winter’s harsh conditions—snow, ice, and road salts—pose a significant threat to natural stone flooring. Prevent damage by reinforcing your floor’s protection.

  • Use Protective Mats: Place absorbent mats in entrances to trap moisture and salt before they reach your floors.
  • Clean Immediately After Snow and Ice Exposure: Salt and de-icing chemicals can cause etching and discoloration. Wipe floors with a damp mop and a pH-neutral cleaner to prevent buildup.
  • Avoid Harsh Cleaning Agents: Do not use vinegar, bleach, or ammonia-based cleaners, as they can degrade the stone’s finish.
  • Maintain Indoor Humidity: Winter heating can create dry indoor conditions, leading to stone contraction. Using a humidifier helps maintain optimal moisture levels.

Caring for natural stone floors requires seasonal attention, but with a structured maintenance plan, you can ensure their lasting beauty and durability. By adapting your cleaning and protection routine to each season, you can safeguard your flooring from common threats while enhancing its aesthetic appeal for years to come.

How to Spot Damage on Your Natural Stone Floors and What to Do About It

Natural stone floors add beauty, elegance, and durability to any space. However, despite their strength, they are not invincible. Over time, natural stone can suffer from wear and tear, leading to cracks, chips, etching, and other forms of damage. Identifying early signs of damage can help you take proactive steps to maintain the integrity of your flooring and avoid costly repairs down the line. Here’s how to spot damage on your natural stone floors and what to do about it.

Common Signs of Damage on Natural Stone Floors

1. Cracks and Fractures

Cracks can develop in stone floors due to excessive pressure, heavy impact, or even foundational shifts. These cracks may start as thin hairline fractures but can grow over time, leading to more extensive structural problems.

What to Do:

  • Small cracks can sometimes be filled with stone epoxy or resin-based sealers.
  • Larger cracks may require professional stone restoration services to prevent further damage and restore structural integrity.

2. Chips and Dents

Dropped objects, furniture movement, or heavy foot traffic can cause small chips and dents on the surface of your stone flooring. While these may seem minor, they can accumulate over time and make the floor look worn out.

What to Do:

  • Light chipping can often be smoothed with fine sandpaper or polished with a stone-safe product.
  • Deeper chips may require professional patching or refinishing to blend the damaged area seamlessly with the surrounding stone.

3. Etching (Dull Spots and Streaks)

Etching occurs when acidic substances like lemon juice, vinegar, or wine react with the calcium in natural stones like marble, limestone, and travertine. This reaction results in dull, cloudy marks on the surface.

What to Do:

  • For mild etching, a marble polishing powder can help restore the shine.
  • Severe etching often requires professional honing and polishing services to remove the damaged layer and restore the stone’s finish.

4. Stains and Discoloration

Natural stone is porous, meaning it can absorb liquids and develop stains over time. Common culprits include wine, coffee, oil, and cleaning products. Some stones, like granite, are more stain-resistant, but others, like limestone, are highly susceptible.

What to Do:

  • Use a poultice made of baking soda and water to pull out deep-set stains.
  • Regular sealing of the stone can prevent future stains from setting in.
  • For stubborn discoloration, professional deep cleaning and stain removal may be necessary.

5. Spalling (Flaking or Pitting)

Spalling happens when moisture seeps into the stone, causing it to weaken and flake or pit over time. This is common in stones that absorb water, especially in areas with high humidity or frequent exposure to moisture.

What to Do:

  • Ensure proper sealing to reduce moisture penetration.
  • Replace severely spalled tiles to prevent further deterioration.
  • A professional restoration expert can assess the underlying cause and provide a long-term solution.

6. Uneven or Loose Tiles

If you notice that some tiles are uneven or feel loose underfoot, this may indicate improper installation, shifting foundations, or water damage beneath the surface.

What to Do:

  • Loose tiles should be reset and re-grouted as soon as possible.
  • A professional evaluation may be necessary to determine if there’s a more serious underlying issue, such as a weakened subfloor or excessive moisture.

How Professional Cleaning and Repair Services Can Help

While some minor issues can be managed with DIY solutions, professional stone restoration services offer the best results for serious damage. Here’s how they can help:

Deep Cleaning and Sealing

Professional cleaners use specialized, stone-safe cleaning solutions to remove dirt, grime, and stains without damaging the surface. Sealing the stone after cleaning prevents future staining and moisture damage.

Honing and Polishing

For etched or dull stone, professionals use honing pads and polishing compounds to restore the natural shine of the stone, making it look brand new.

Crack and Chip Repair

Experts use color-matched epoxy resins and adhesives to fill cracks and chips, ensuring a seamless repair that blends with the original stone.

Grinding and Leveling

Uneven tiles can be ground down and leveled to eliminate trip hazards and improve aesthetics.

Replacement and Restoration

For extensive damage, professionals can replace broken tiles and refinish entire areas to restore the floor’s integrity and beauty.

Preventive Maintenance Tips

To keep your natural stone floors in top condition, follow these maintenance tips:

  • Use Mats and Rugs – Place rugs in high-traffic areas and near entryways to prevent dirt and debris from scratching the surface.
  • Clean Spills Immediately – Wipe up spills quickly to prevent staining and etching.
  • Use pH-Neutral Cleaners – Avoid acidic or harsh chemicals that can damage the stone.
  • Re-Seal Periodically – Natural stone should be sealed every 6-12 months, depending on the type and level of use.
  • Avoid Heavy Impact – Be cautious when moving furniture or dropping heavy objects on the floor.

Natural stone floors are an investment, and with proper care, they can last a lifetime. By regularly inspecting your floors for signs of damage and addressing issues promptly, you can maintain their beauty and durability for years to come. If you notice significant damage, don’t hesitate to seek professional cleaning and restoration services to protect your floors and keep them looking their best.

Pressure Washing vs. Professional Paver Cleaning: What Can Go Wrong?

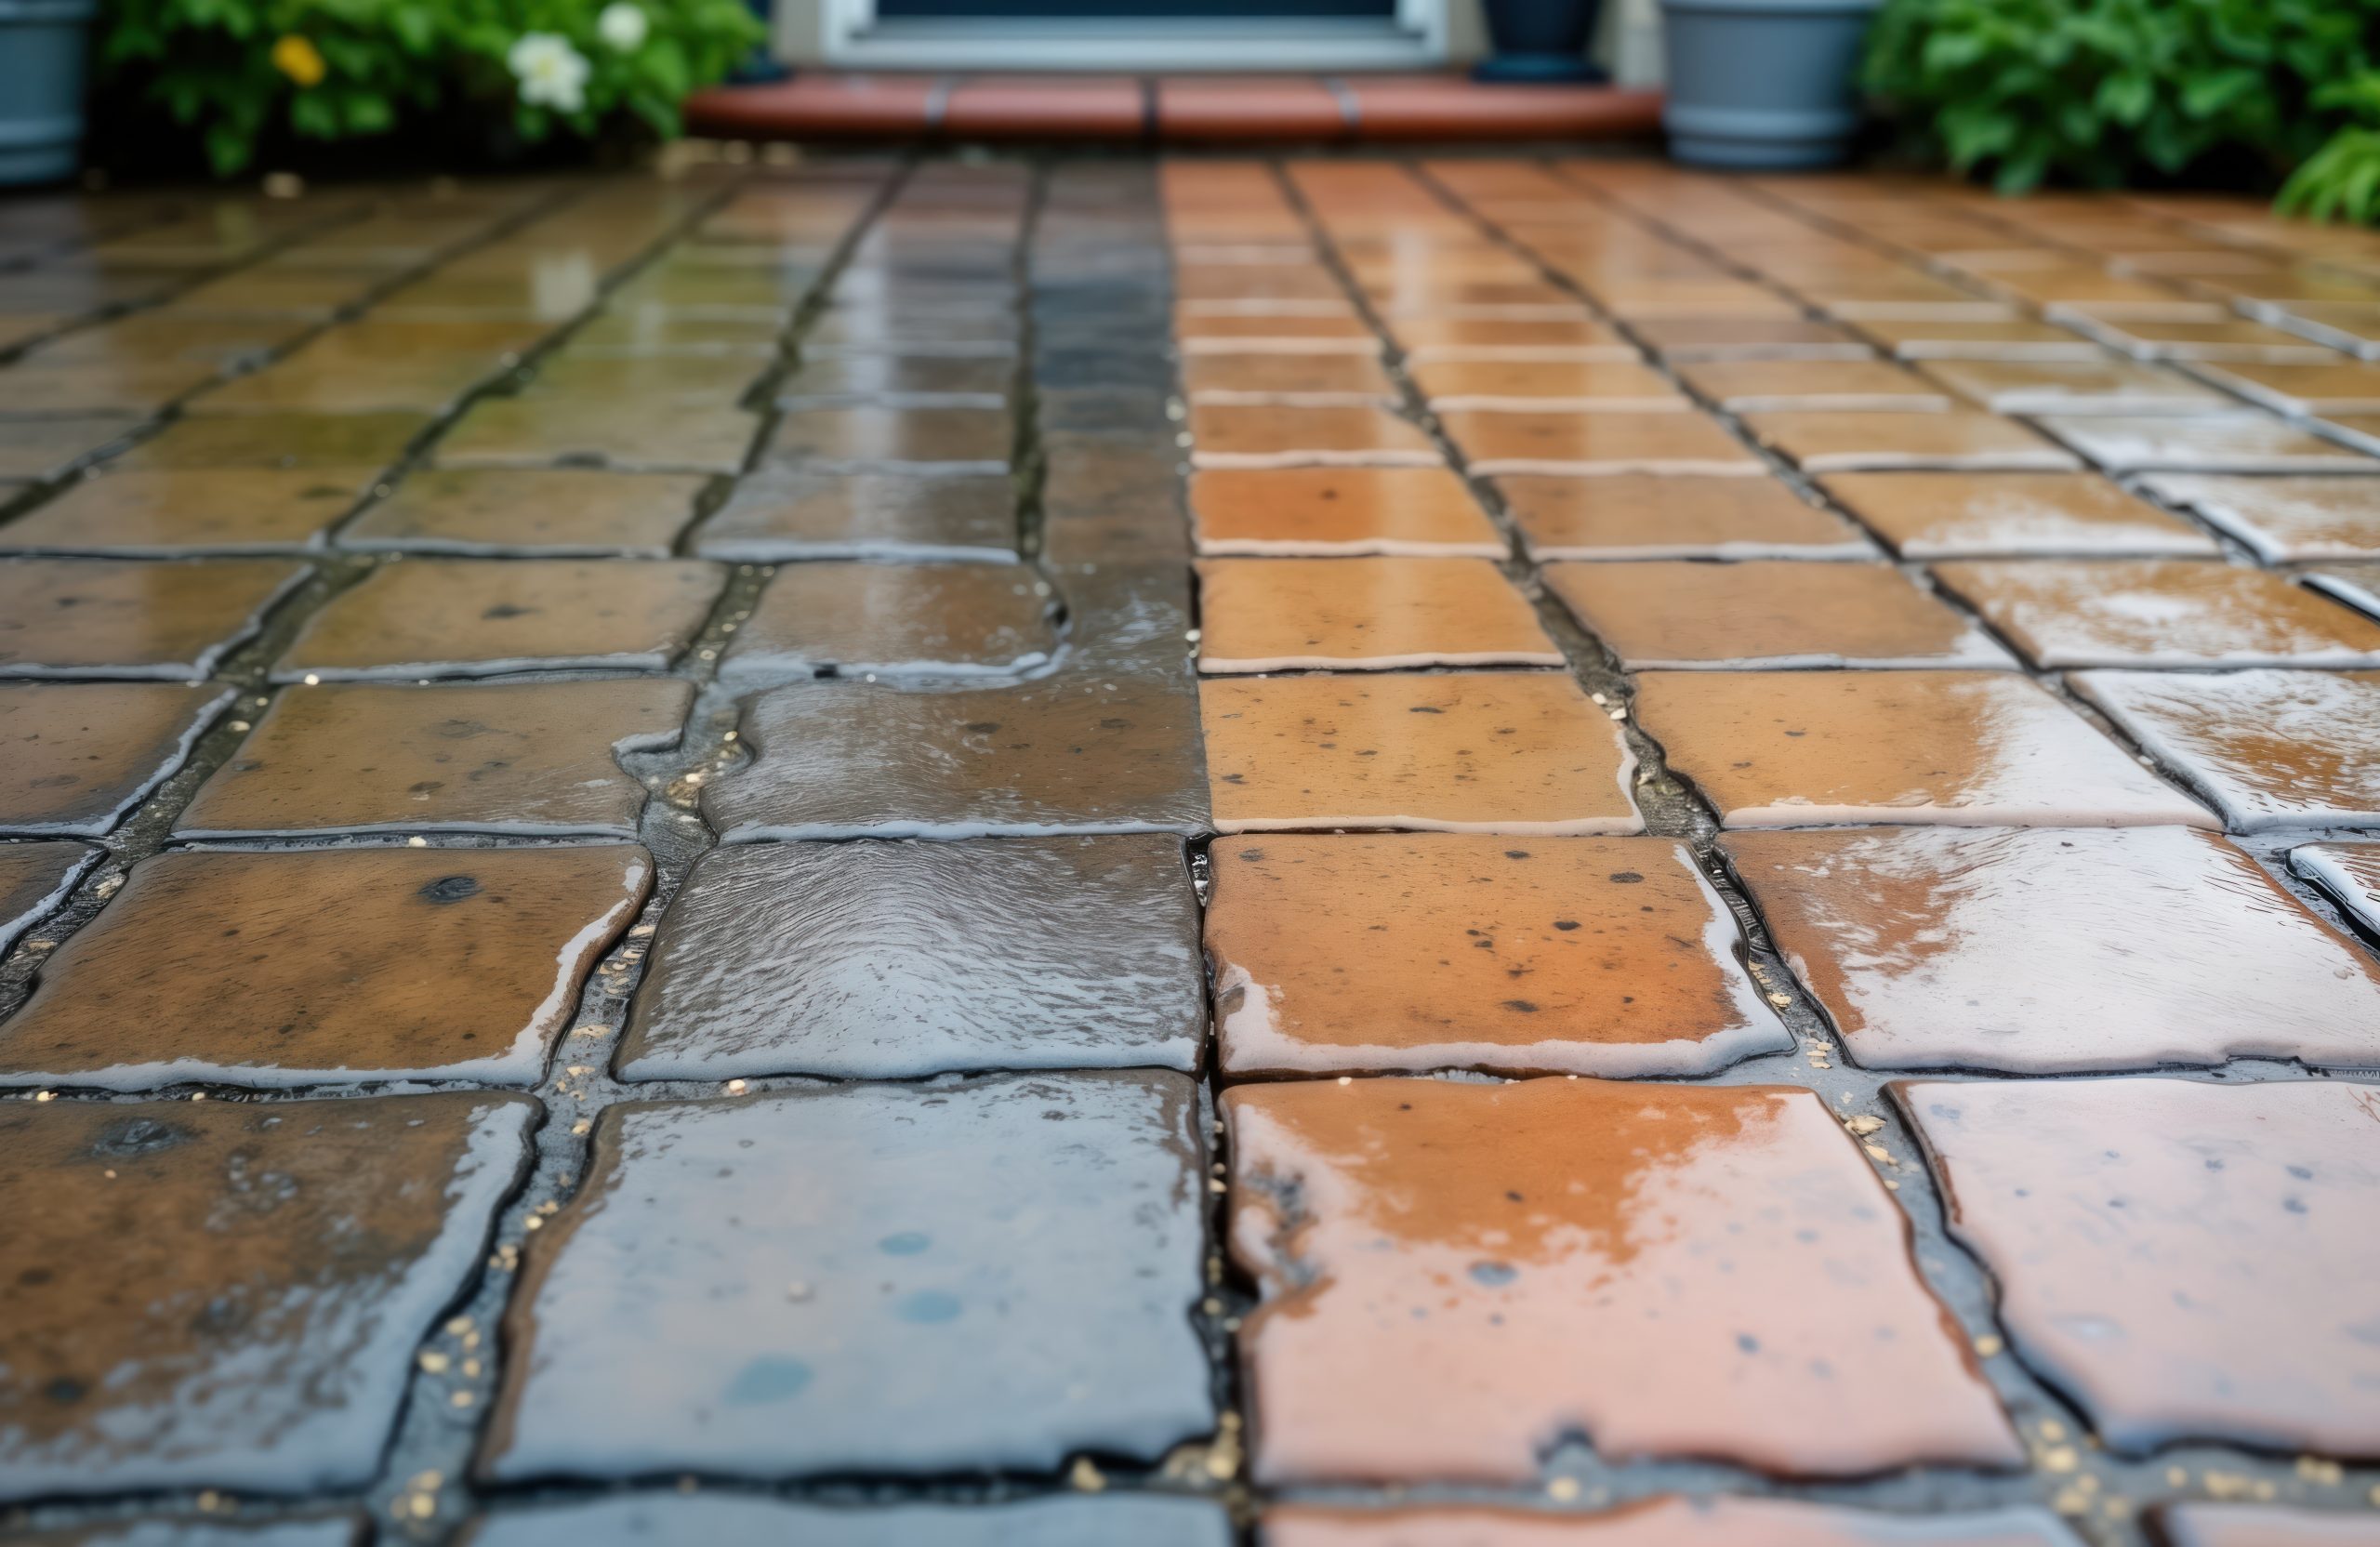
If your brick or interlocking pavers look dull, stained, or mossy, it’s tempting to grab a pressure washer and blast the surface clean. While DIY pressure washing seems fast and affordable, it’s also one of the most common causes of permanent paver damage. Understanding the differences between high-pressure DIY cleaning and professional low-pressure systems can save you thousands in repairs.

Why Pressure Washing Is So Risky for Pavers

Consumer pressure washers often operate between 2,000–4,000 PSI—far more force than most pavers are designed to handle. Unlike concrete slabs, pavers rely on surface integrity, joint sand, and consistent color to stay stable and attractive.

Common problems caused by pressure washing include:

Etched or scarred surfaces
High pressure strips away the top layer of the paver, leaving rough, porous patches that attract dirt and stains faster than before.

Blown-out joint sand
The force removes polymeric or joint sand between pavers, destabilizing the surface and allowing weeds, ants, and water intrusion.

Uneven color and streaking
Pressure washing rarely cleans evenly. Wand marks, stripes, and “clean spots” become permanently visible once the surface is etched.

Accelerated fading
Removing the protective surface layer exposes pigments to UV damage, causing faster fading and chalky residue.

Structural movement over time
Lost joint sand leads to shifting, sinking, and uneven pavers—issues that require re-leveling or replacement.

How Professional Paver Cleaning Is Different

Professional paver restoration uses low-pressure cleaning systems combined with surface-safe detergents designed specifically for masonry and stone. Instead of relying on force, professionals rely on chemistry, dwell time, and controlled rinsing.

Key differences include:

Low-pressure, surface-safe washing
Professionals clean at pressures low enough to protect the paver face while still removing algae, oil, and organic buildup.

Targeted cleaners
Specialized solutions break down stains without bleaching color or damaging the paver matrix.

Joint sand protection and replacement
Professionals intentionally preserve joint sand—or replace it properly with polymeric sand after cleaning.

Consistent, uniform results
Even cleaning across the entire surface avoids streaks, wand marks, and patchy color.

Optional sealing for long-term protection
Sealers restore color, enhance appearance, and lock joint sand in place—preventing future damage.

DIY Pressure Washing vs. Professional Cleaning: A Quick Comparison

FactorDIY Pressure WashingProfessional Paver Cleaning
Pressure LevelHigh (2,000–4,000 PSI)Low, surface-safe
Risk of EtchingHighMinimal
Joint Sand LossVery commonControlled or replaced
Color ConsistencyOften unevenUniform finish
Long-Term ResultsShort-livedLong-lasting
Repair RiskHighLow

When Pressure Washing Causes Permanent Damage

Many homeowners only discover the damage after the pavers dry. Etching and color loss often become more visible days later—when repairs are no longer simple cleaning jobs. At that point, fixes may require:

  • Paver resurfacing
  • Full re-sanding
  • Spot replacement
  • Complete restoration and sealing

What started as a DIY weekend project can quickly turn into a costly restoration.

The Safer Choice for Long-Lasting Results

If your goal is clean, vibrant, and stable pavers—not just “looks good for a week”—professional low-pressure cleaning is the safer investment. It protects the integrity of your surface, preserves color, and prevents the hidden damage that pressure washers often cause.

When it comes to paver pressure washing damage, the cheapest option upfront is often the most expensive in the long run. Choosing safe paver cleaning methods ensures your outdoor spaces stay beautiful for years—not just days.

Speak with a Professional

Learn how you can save thousands of dollars by restoring your floor.

Call Us:
760-360-4000